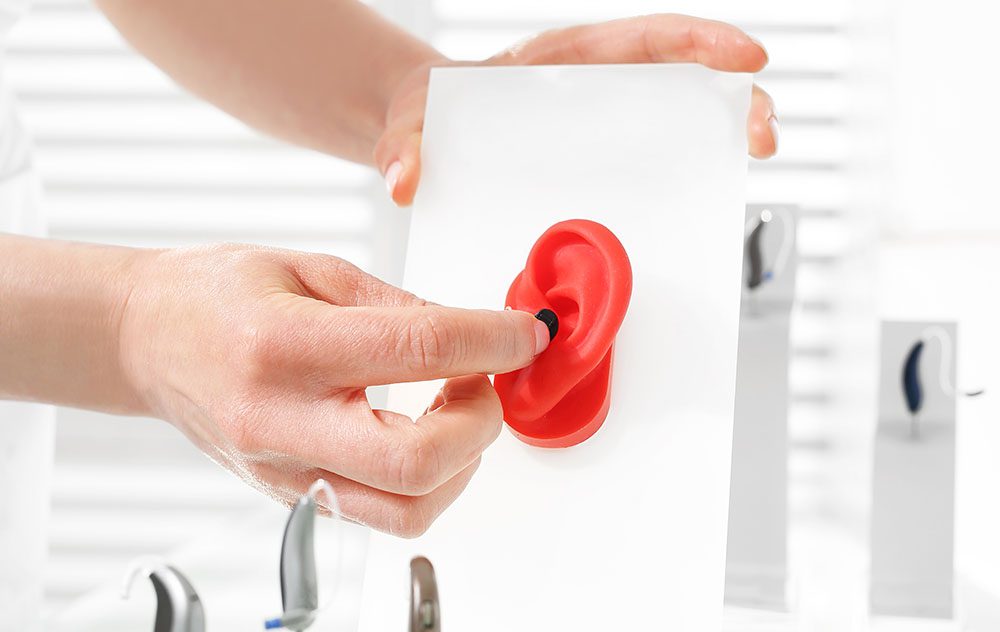
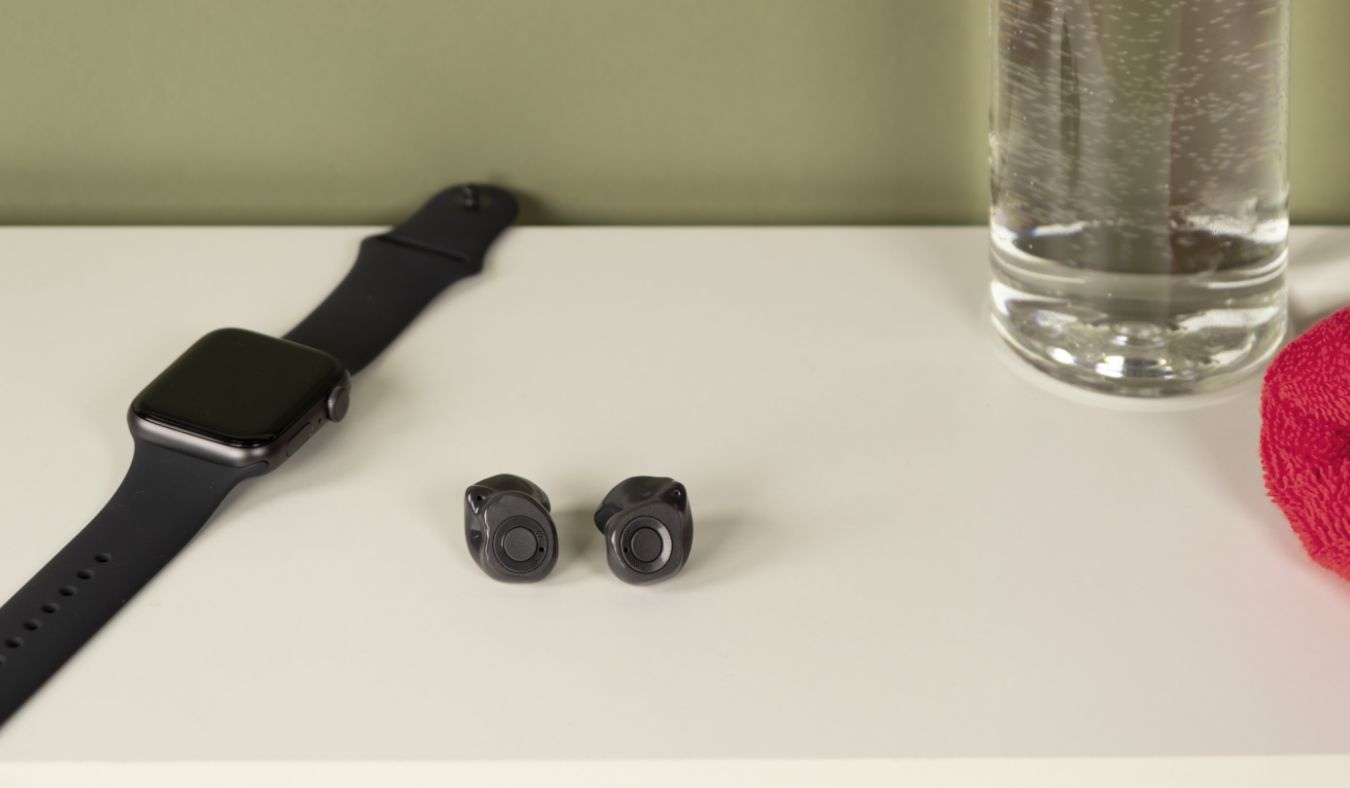
Believe it or not, ear wax helps to keep your ears healthy. It protects the skin in the ear canal. It also helps by lubricating the ear and keeping out dirt and bacteria.

But ear wax becomes a problem when it affects how your hearing aid works.

Too much of it can get into your hearing aid’s receiver or speaker, causing it not to work properly. Protecting your hearing aid from too much wax and moisture is essential. Wax guards or filters provide this protection.

What Do Wax Guards Do and Why do I Need Them?

Wax guards are tiny plastic screens made to protect your hearing aid receiver or speaker from too much wax.

Excessive ear wax in these components is a significant reason why hearing aids become damaged and need repair.

When this occurs, the sounds picked up by your hearing aid may be weak, distorted, or even nonexistent.

How Can I Tell When a Wax Guard Should Be Changed?

It’s essential to inspect your wax guard on the speaker end of your hearing aid thoroughly to see if it has accumulated much wax.

If the holes in the filter are plugged or if you can’t see the holes at all, it’s time to change it.

It would be best if you didn’t wait until the sound weakens or dies out. In many cases, you won’t know until the wax has completely clogged the speaker.

How Frequently Should I Change My Wax Guard?

There is no fixed rule as to how often Wax guards should be changed, unfortunately.

Some people change their guards every month, while others can go for several months without changing them.

It will depend on how much wax builds up in your ears, which varies from one person to the next.

How Do I Change the Guards on My Custom Hearing Aid?

There are many hearing aids out on the market these days, but their designs tend to be similar.

But one thing to keep in mind is that you should use the same type of wax guard/filter supplied by your hearing aid manufacturer.

Follow these simple steps for changing the wax guards on custom hearing aids:

  1. Remove your new wax filters from the packaging.
  2. Take the tool out of the shell. It should have two pins: one holds the new wax filter and an empty one for the used filter.
  3. Insert the empty pin into the old wax filter situated in the speaker and gently pull it out.
  4. Insert the new wax filter with the other pin.
  5. Remove the tool by rolling it off. Throw it away when you’re done.

How Do I Change the Guards on My Receiver-in-the-Ear (RITE) Hearing Aid?

Because RITE hearing aids are more sensitive to wax than custom hearing aids, it’s even more important to change your wax guards.  Also, RITE hearing aids are more likely to fail if you don’t care for them properly.

Changing wax guards on a RITE hearing aid is similar to changing them on a custom appliance.

Follow these easy steps to change wax filters on your RITE device:

  1. Remove the tool from the circular holder. It will have two pins: one with the new wax filter and an empty one for the used filter.
  2. Insert the empty pin into the old wax filter. After you feel it click, pull it straight out.
  3. Use the other pin to push the new wax filter straight in.
  4. Remove the tool by rolling it off. Then, throw it away.

Contact Big Thicket Hearing Aids & Audiology Today

At Big Thicket Hearing, our services are open to all members of our Hardin County communities. If you’re unsure about finding the right wax filters/guards for your hearing aid or, if you want to learn how to change them, please request a callback today. We will be happy to help and will get back to you as soon as we can.